
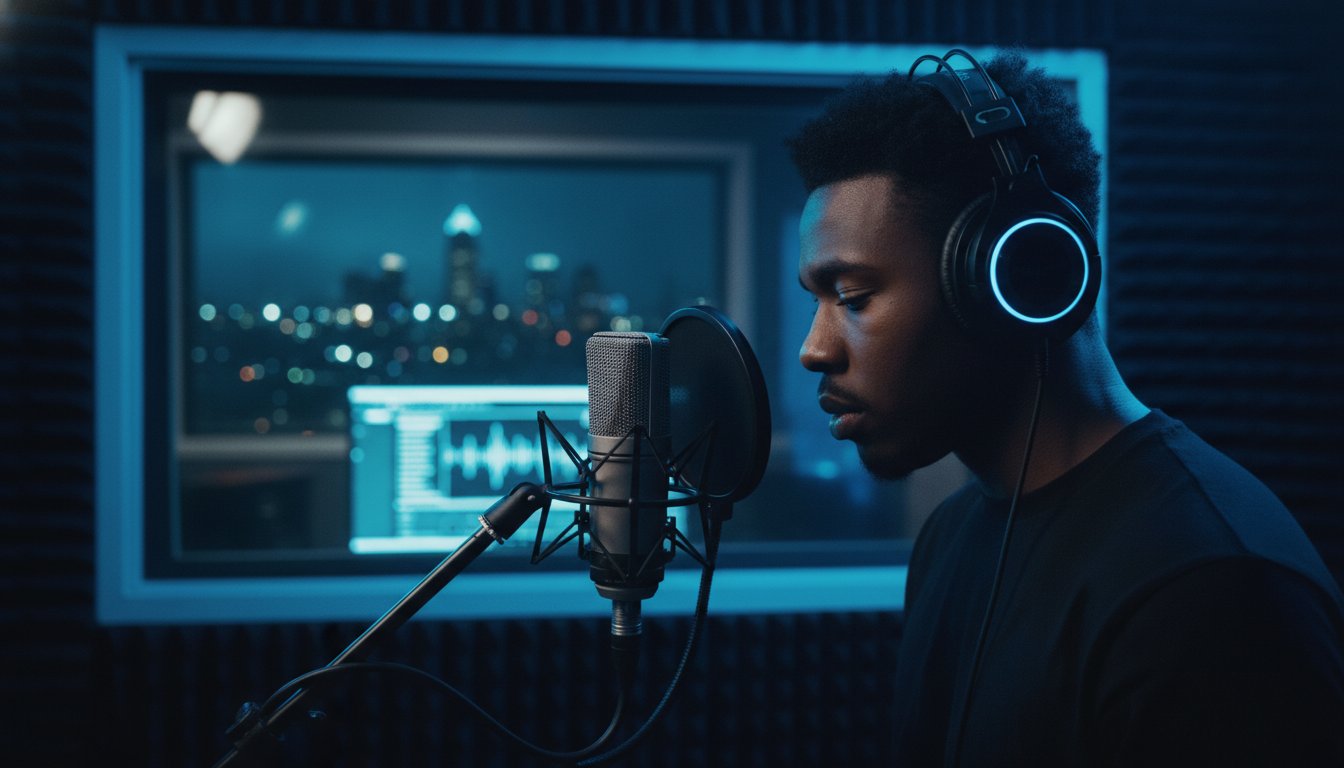
What if the only thing standing between your bedroom demo and a Billboard-charting vocal is a single decibel of headroom or the wrong polar pattern? It is a frustrating reality for many Cleveland artists. You pour your soul into a performance, only to find the playback sounds thin, boxy, or buried under a layer of unwanted room reverb. Recent industry data suggests that 65 percent of independent tracks fail to reach radio standards simply because of avoidable technical errors during the initial tracking phase. You know your music deserves better than a "good enough" sound that gets lost in the mix.
We are here to bridge that gap. This guide will teach you exactly how to record voice sessions that capture true analog warmth and professional presence. You will master the technical secrets of a pristine signal path and learn to navigate the 2026 landscape of microphone technology with confidence. We are breaking down everything from software settings that prevent signal clipping to the specific moments when your project demands the magic of a dedicated studio sanctuary. It is time to stop fighting your gear and start creating the high-fidelity art you were meant to make.
Key Takeaways
- Learn how to neutralize Cleveland-specific acoustic hurdles, from lake wind to city traffic, to ensure your environment doesn't compromise your signal path.
- Discover the "six-inch rule" and professional mic positioning secrets to master how to record voice with the clarity and warmth of a seasoned artist.
- Decode the technical differences between condenser and dynamic microphones to select the specific gear that captures the unique soul and texture of your performance.
- Master the 2026 session standards for sample rates and bit depths while learning to tailor your room's "vibe" for either high-impact music or intimate podcasting.
- Identify the critical moment your creative vision outgrows the DIY setup and requires the sonic excellence of a Dolby-certified recording sanctuary.
Sounding Pro Starts Before You Press Record: The Environment
You can buy a $3,000 microphone, but if you're recording in a room that sounds like a tiled bathroom, your track will sound like a tiled bathroom. Your environment is the most influential "instrument" in your signal chain. It shapes the character, depth, and clarity of your performance before the signal even reaches the preamp. Learning how to record voice with professional results starts with mastering the space around you. It's about transforming a sterile room into a creative sanctuary where every nuance is captured with absolute precision.
In Cleveland, we face unique sonic hurdles. The 25-mile-per-hour gusts coming off Lake Erie can create low-frequency rumbles against window panes that muddy your low end. High humidity levels, often exceeding 75% during humid July afternoons, can actually dampen the high-frequency response of sensitive condenser microphones. Then there is the city itself. Whether it's the Shoreway traffic or the RTA trains, external noise is a constant battle for the home studio artist. You aren't just fighting physics; you're fighting the 216 landscape.
Don't confuse soundproofing with acoustic treatment. Soundproofing is about isolation. It requires heavy, expensive construction to keep the neighbors from hearing you. Acoustic treatment is about control. It's the art of managing reflections so your voice sounds intimate and focused rather than boxy or distant. When you treat a room, you're ensuring the "analog warmth" of your voice isn't lost in a sea of echoes.
DIY Acoustic Treatment for Home Studios
You don't need a massive budget to create a sanctuary for your sound. Use what you have. A walk-in closet filled with winter coats is a classic "pro secret" for a dry, dead vocal sound. If that isn't an option, hang heavy moving blankets behind the singer and behind the microphone to catch primary reflections. Use the Mirror Test to find your trouble spots. Have a friend slide a mirror along the walls while you sit at your recording position; wherever you see the microphone in the mirror, that's a reflection point that needs a soft surface. Never set up your mic in the exact center of the room. This is where standing waves congregate, creating dead zones that ruin your how to record voice efforts by sucking the life out of your mid-range.
Managing Ambient Noise in the City
Success in a home setup requires tactical timing. Avoid tracking during peak Cleveland commute hours or when the RTA schedule is at its busiest. Physical barriers are always superior to digital fixes. While a noise gate can cut the silence between phrases, it won't remove the 60Hz hum of a refrigerator or the whine of an AC unit baked into your vocal take. Turn off every appliance within earshot. Even a small desk fan can introduce phase issues that destroy the magic of a performance. Creating a vibe is equally vital. Dim the lights and clear the clutter. When the atmosphere feels like a high-end facility, your performance will naturally reach that star-quality level.
Choosing the Right Mic for Your Unique Voice
Your voice is your signature. It’s the most intimate instrument you’ll ever record. Finding the right microphone isn't about buying the most expensive gear in the shop; it’s about matching the transducer to your specific vocal texture. Understanding how to record voice effectively begins with the signal chain. If the source isn't captured correctly, no amount of digital processing can fix the lack of character.
The polar pattern is your first line of defense. Cardioid is the king of vocal recording because it captures sound in a heart-shaped pattern, focusing on your performance while ignoring the hum of your computer or the distant traffic on Euclid Avenue. This directional focus ensures a tight, dry signal that’s easier to mix later. Beyond the mic, the preamp plays a vital role. It adds analog warmth by introducing subtle harmonic saturation. This process rounds off harsh digital edges, giving your vocals a polished, radio-ready feel before they even hit your software.
Don't fall into the trap of gear obsession. A $200 microphone in a professionally treated room will outperform a $2,000 vintage mic in a tiled bathroom every time. Acoustic reflections in an untreated space can distort your frequency response by 10 to 15 decibels. This creates "comb filtering" that makes even the most expensive gear sound cheap and hollow. If you want to hear your voice through a world-class signal path without the technical headache, our professional recording sanctuary is designed to capture every nuance of your performance.
Condenser Mics: Capturing the Shimmer
Condenser microphones are the gold standard for pop, folk, and detailed voice-over work. They utilize a lightweight diaphragm that reacts quickly to sound waves, capturing the "air" and high-end detail of a performance. These mics require 48V Phantom Power to operate. Always plug your mic in before engaging the power to avoid damaging the sensitive internal electronics. For Cleveland creators in 2026, the Lewitt LCT 440 Pure and the Audio-Technica AT2035 remain the top entry-level choices for pristine clarity.
Dynamic Mics: Handling the Heat
Dynamic microphones are the workhorses of rock and rap. They’re built to handle high sound pressure levels, making them perfect for aggressive vocalists and screamers. One of their best features is the proximity effect; as you move closer to the mic, the bass response increases. This adds a "God voice" authority to thin performances. Because they have excellent off-axis rejection, they’re ideal for home setups that lack perfect acoustic treatment. The Shure SM7B remains a 2026 staple for its ability to make any voice sound thick and controlled.
- Proximity Effect: Use it to add 3-6dB of low-end warmth by staying within 2 inches of the capsule.
- Phantom Power: Ensure your interface has a "48V" button before buying a condenser mic.
- Off-Axis Rejection: Dynamics ignore room noise better than condensers, saving your take from background hums.
Mic Technique and the "Vibe" of a Great Take
Capturing a world-class vocal isn't just about the hardware. It's about how you interact with the air. Understanding how to record voice with professional precision starts with the "six-inch rule." Maintaining a consistent 15-centimeter distance from the capsule ensures a balanced frequency response. If you get too close, the proximity effect creates an artificial bass boost that can muddy a mix. Conversely, standing too far back loses the intimacy and detail of the performance.
Angle is your secret weapon. Never sing directly into the center of the capsule. By tilting the microphone 15 to 20 degrees off-axis, you allow the harsh gusts of air from your mouth to pass by the diaphragm rather than hitting it head-on. This technique, combined with a high-quality dual-layer pop filter, effectively kills aggressive plosives before they ever reach your DAW. Steve "The Mix" always reminds our artists that the booth must be a sanctuary. When you feel protected from technical distractions, your creative soul can finally emerge.
Perfecting Your Physical Positioning
The choice between a "hanging" mic and a traditional stand impacts more than just aesthetics; mastering how to record voice requires physical discipline. Hanging a microphone from a boom arm forces you to lift your chin, opening the airway for better breath control. During high-energy sessions, use your body to manage dynamics. Backing away 10 inches during a loud belt prevents digital clipping. We use gaffer tape to mark the floor, ensuring your 2:00 PM take matches the 5:00 PM take with 100% sonic consistency.
Psychology of the Performance
Visuals dictate the "vibe." Many artists at Star Sound Studios find that dim, red lighting reduces performance anxiety and fosters a deeper connection to the lyrics. Don't fall into the trap of over-analyzing every sharp or flat note. "First Take Magic" is a documented phenomenon where the initial raw emotion outweighs technical perfection. Trust your inner star. When you monitor through your headphones, focus on the feeling of the track rather than the waveform on the screen. Sonic excellence happens when the tech fades into the background and the artist takes center stage.
Recording Voice for Different Mediums: Music vs. Podcasts
Capturing a vocal for a billboard-charting track requires a different sonic architecture than a 45-minute interview. Music vocals often crave the "vibe" of a room or the lush tails of a plate reverb. Podcasts demand an ultra-dry, "dead" environment to ensure every syllable is intelligible on a pair of earbuds. In 2026, the standard for professional music production is 96kHz/32-bit float; while podcasts typically thrive at 48kHz/24-bit. This ensures your dynamic range remains intact without bloating file sizes. Mastering how to record voice for these distinct mediums involves adjusting your space and your tech to fit the listener's expectations.
Dealing with mouth clicks and sibilance starts with hydration and mic technique. Software like iZotope RX 12 remains the 2026 industry benchmark for cleaning up "wet" speech. If you're working in the 216, you can access high-end gear at the Cleveland Public Library TechCentral for DIY projects, but professional results require a pristine signal path and expert ears.
The Music Vocal Workflow
- Comping: Don't settle for one "okay" take. Stitching the best phrases from five or six passes creates a "super-performance" that feels both natural and flawless.
- The 10dB Rule: Keep your levels peaking around -10dB. Digital clipping in 32-bit float is harder to achieve, but staying out of the red preserves the analog warmth of your preamp.
- Tracking Dry: Always record the raw signal. You can provide the artist with a "vibe" by monitoring with zero-latency reverb, but the recorded file should be clean for the mixing stage.
The Podcast and Voice-Over Setup
Consistency is the hallmark of a professional podcast. If you move even two inches away from the capsule during a session, the proximity effect will shift your tone. Use the "hang loose" hand gesture to measure a consistent 6-inch distance from the mic. Understanding how to record voice for long-form content also means managing your dynamics early. A light touch of hardware compression, specifically a 2:1 ratio with 2dB of gain reduction, keeps the volume steady before the audio hits your DAW.
Signal flow is the sequential path an audio signal travels from the microphone through cables, preamps, and converters until it reaches your recording software.
Whether you're an indie artist or a burgeoning podcaster, the right environment is your greatest asset. For those who want to skip the technical headache and focus on the magic of the performance, you can book a session at Star Sound Studios to experience a world-class sanctuary for your sound.
When to Move from Your Bedroom to Starsound Studios
Your bedroom setup served its purpose. It taught you the fundamentals of how to record voice and allowed you to experiment without a ticking clock. However, every serious artist eventually hits a technical ceiling. DIY equipment and untreated drywall can only take a project so far before the lack of depth becomes obvious. When your creative vision demands more than "good enough," it's time to step into the Starsound Experience. Located in North Royalton, our facility is a Dolby-certified sanctuary designed to eliminate the glass ceiling of home recording.
The difference starts with a pristine signal path. At Starsound, your voice doesn't just hit a budget interface. It travels through world-class microphones into legendary Neve and SSL hardware. This analog warmth adds a weight and three-dimensional character that software emulations can't fully replicate. You aren't just capturing sound; you're capturing presence. Transitioning to a professional environment means you stop fighting your gear and start focusing entirely on your performance. We handle the technical precision so you can stay in the creative flow.
A professional engineer acts as your greatest creative partner. While you might know how to record voice on a basic level, an expert like Steve "The Mix" understands the nuances of frequency masking and vocal compression. This partnership ensures that your authentic sonic identity isn't just recorded, it's polished to a competitive, commercial standard.
The Benefits of a Pro Studio Environment
Acoustically perfect rooms are the secret weapon of hit records. Home setups often suffer from "boxy" resonances or flutter echoes that muddy the mix. Our tracking spaces are engineered to eliminate these artifacts, providing a clean canvas for your vocals. Beyond the physics of sound, there is a powerful psychological shift that happens when you enter a high-end facility. The "vibe" of a professional studio levels up your talent. You'll find yourself reaching for notes and emotional depths that felt out of reach in a domestic setting. It's about the atmosphere of excellence that permeates every square foot of the sanctuary.
Booking Your Session in Cleveland
Preparation is the bridge between a good session and a legendary one. Before your first time at Starsound Studios, ensure your lyrics are fully memorized and your backing tracks are exported as high-resolution WAV files. Bring your drive, your preferred hydration, and a clear goal for the day. Leave the distractions at the door. When you're ready to stop settling for bedroom quality and start demanding sonic excellence, the next step is clear. Book your vocal recording session at Starsound Studios today and let's create something timeless together.
Take Your Sound From the Bedroom to the Big Stage
Success in the studio isn't just about the gear; it's about the synergy between your unique talent and the space where you capture it. You've learned that acoustic treatment is the foundation of any great take, and choosing a microphone that complements your specific frequency response is non negotiable. Mastering how to record voice is a journey of both technical precision and creative exploration that begins long before you hit the red button. Whether you are tracking a podcast or a chart topping single, your vocal deserves a sanctuary where every nuance is preserved.
When you're ready to move beyond DIY limits, Starsound Studios provides the ultimate creative home in Cleveland. As Ohio’s only Dolby-certified Atmos mixing studio, we offer pristine analog signal paths featuring world class preamps that breathe life into your performance. You'll work directly with Steve "The Mix," who brings 10+ years of local expertise to every session. Don't settle for "good enough" when you can achieve sonic excellence. Elevate your sound with a professional vocal session at Starsound Studios and let's make your vision a reality. Your best work is still ahead of you.
Frequently Asked Questions
Is it better to record voice in mono or stereo?
You should almost always record a single voice in mono to ensure a centered, punchy presence in your mix. Since a human voice is a single point source, using one microphone creates a focused signal that avoids phase cancellation issues. Capture your performance at 24-bit depth to maintain a pristine signal path. This technical precision allows the natural vibe of your vocal to shine through without unnecessary stereo clutter.
How do I stop my voice from sounding "boxy" in my home recordings?
To eliminate a boxy sound, move your microphone at least 18 inches away from untreated walls. Boxiness typically occurs when frequencies between 300Hz and 600Hz build up in small, square rooms. Hanging heavy moving blankets or installing 2-inch thick acoustic panels can reduce these reflections. Achieving sonic excellence requires managing your environment so the microphone captures the soul of your performance rather than the room's limitations.
What is the best free software for recording voice in 2026?
Tracktion Waveform Free 13 and Audacity 3.6 remain the top choices for artists learning how to record voice in 2026. These platforms offer professional-grade features like VST3 support and non-destructive editing without a price tag. Waveform provides a sophisticated interface that mirrors high-end studio workflows. It's an ideal sanctuary for beginners to experiment with their sound before stepping into a world-class facility.
Do I really need a pop filter for vocal recording?
A pop filter is essential for any professional vocal session to prevent plosive distortion. Hard consonants like "P" and "B" create concentrated gusts of air that can hit the microphone capsule at high velocities. A dual-layer nylon or metal mesh filter positioned 3 inches from the mic disperses this energy effectively. This simple tool preserves the magic of your take by keeping the signal clean and free from distracting low-end thumps.
How can I record professional vocals in a noisy Cleveland apartment?
Recording in a noisy Cleveland apartment requires a dynamic microphone and strategic timing. Data from local acoustic surveys shows that ambient city noise in areas like Ohio City drops by 12 decibels after 10 PM. Use a heavy reflection filter to create a localized sanctuary for your sound. This setup isolates your voice from the Shoreway traffic, ensuring your tracks maintain the professional authority required for a commercial release.
What is the difference between a dynamic and condenser mic for vocals?
Dynamic microphones are rugged and handle high sound pressure, while condenser microphones offer superior sensitivity and high-frequency detail. Condensers use a lightweight diaphragm, often just 5 microns thick, to capture the subtle nuances and analog warmth of a performance. Dynamics are perfect for aggressive vocals or untreated rooms. Choosing the right tool depends on whether you need the delicate atmosphere of a ballad or the punch of a rock anthem.
How loud should I be when recording my voice into a DAW?
You should aim for an average input level of -18 dBFS when learning how to record voice into a digital audio workstation. This provides enough headroom to prevent digital clipping while keeping your signal well above the noise floor. Your loudest peaks should never exceed -6 dBFS. Maintaining these levels ensures your tracks are ready for the mixing stage where the real sonic magic happens without distortion.
Can I record a hit song using just my smartphone?
You can record a hit song on a smartphone if you use an external 24-bit interface and a professional microphone. Modern mobile processors handle high-resolution audio easily, but internal microphones lack the depth needed for professional results. Connect a studio-grade condenser mic to your device to capture true sonic excellence. While the phone acts as the digital recorder, the quality comes from your talent and a high-quality signal path.


