
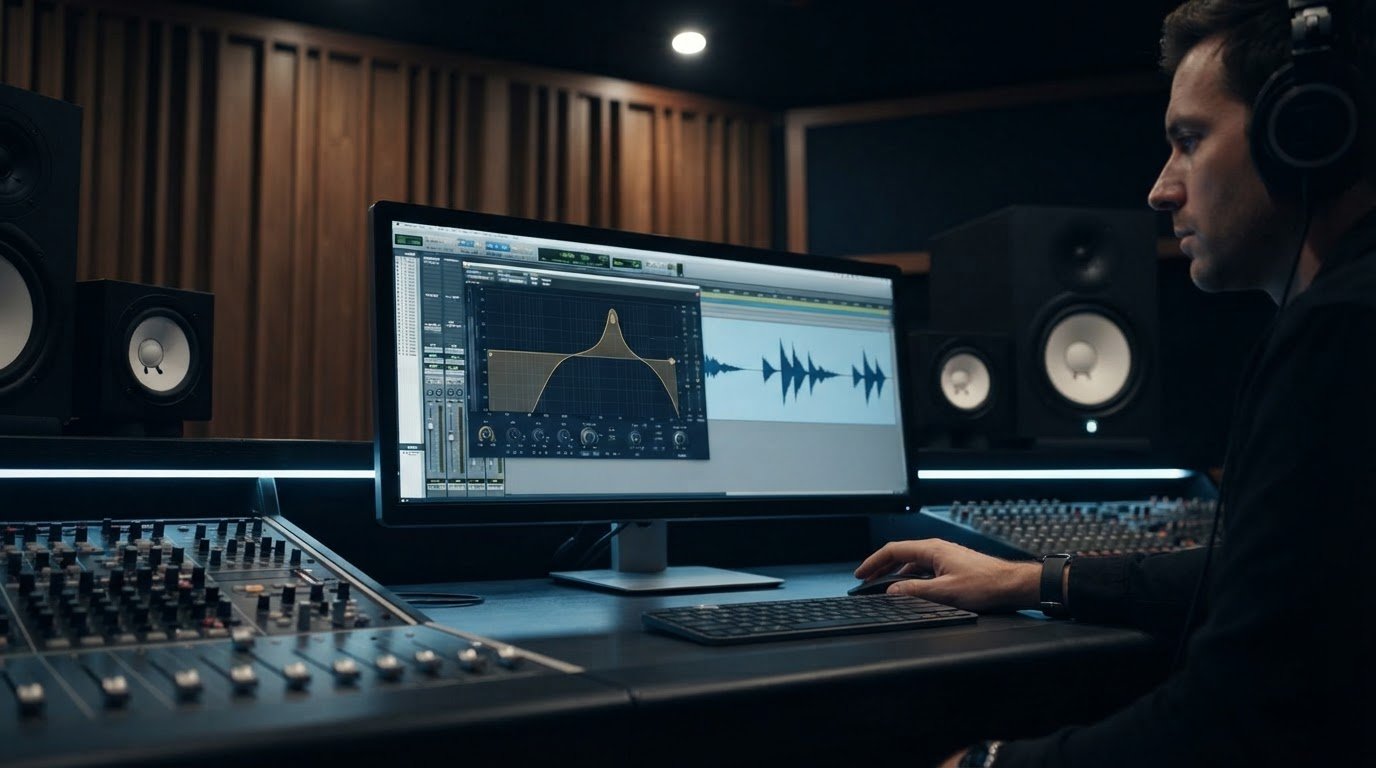
A narrow, temporary EQ boost can make a harsh spot easier to hear. Fixing harsh high frequencies in a mix starts with sweeping a parametric EQ through 2-5 kHz using a narrow Q and a 5-6 dB boost. Listen for only a few seconds at a time, then cut the specific frequency that jumps out rather than turning down the whole top end.
If your mix sounds sharp or tiring, it can be tempting to pull down the highs across the board. But that may remove vocal presence and detail along with the harshness. A focused sweep helps identify the cause so you can make a precise adjustment.
Learn how to locate problem frequencies, choose between a de-esser and a resonance suppressor, and control harshness without dulling the mix. You’ll also learn to check changes in context and preserve the performance’s energy and clarity.
Key Takeaways
- Use a narrow-Q EQ sweep through 2-5 kHz with a 5-6 dB boost to reveal troublesome frequencies, then make a targeted cut.
- Choose dynamic EQ for harshness that comes and goes; use a de-esser for sibilance and a resonance suppressor for persistent tonal peaks.
- Compare your mix with level-matched references, since even a 1 dB loudness difference can influence EQ choices.
- Protect clarity by treating nasal buildup and piercing edges selectively instead of pulling down the entire high end.
Should I use a de-esser or a resonance suppressor?
Choose a processor based on how the harshness behaves: sibilance, intermittent peaks, or a persistent tonal peak. Dynamic processing can reduce unwanted energy only when it rises, preserving detail between peaks.
For an aggressive drum bus in the 3-7 kHz range, multiband compression can help. Start with a 2:1 or 3:1 ratio and aim for 2-4 dB of gain reduction on peaks.
-
Identify Intermittent Harshness
Insert a dynamic EQ and listen for harshness that appears only on certain words, notes, or hits. For vocal sibilance in the 5-8 kHz range, try a de-esser; for a broader, changing edge, use a dynamic EQ band instead. A 6 kHz cut is one vocal example. Avoid a constant cut if the problem disappears between peaks, since it can dull the entire performance.
-
Apply Dynamic Resonance Suppression
Use a resonance suppressor when a narrow spectral peak becomes prominent only at certain moments. Let the plugin respond to the peak instead of applying a permanent notch across the track. Compare the processed sound with bypass at the same playback level, listening for the original tone between harsh events. If several frequencies sound broadly aggressive, a single narrow treatment may not address the cause.
-
Set Dynamic EQ Controls
Set a narrow Q around 2-3 and begin with a gentle 2-3 dB reduction. For vocal peaks, try an attack of 2-5 ms and a release of 70-120 ms, then adjust while listening to the full phrase. The band should catch sharp moments and recover naturally. If it stays engaged too long or changes the vocal’s character, ease the threshold or reduce the cut.
What makes harshness worse during mixing and mastering?
Harshness may begin during recording and become more obvious as compression and EQ shape the mix. Trace the edge to its source before making broad changes to the finished stereo bus.
-
Treat Harsh Peaks on Individual Tracks
Briefly solo the vocal, cymbals, or another bright track, and listen for harshness already present in the recording. During tracking, try a different microphone or reposition it to change how directly it captures the source. Harshness recorded at this stage may become more distracting after compression and EQ.
Process the track causing the problem before changing the full mix. If a vocal’s upper edge grows only when a phrase gets louder, for example, use targeted dynamic control on that vocal. If the cymbals sound brittle but the vocal remains smooth, treat the cymbal track instead. Check the result in the arrangement, not just in solo, and avoid broad cuts that remove useful definition from other instruments.
-
Mix in Context and Compare References
Return each adjustment to the full arrangement and listen to how the vocal, cymbals, and guitars interact. A frequency that sounds sharp in solo may help a part stay clear in context; reducing it too much can weaken the performance’s presence. Compare your mix with a reference track on the same playback system, matching loudness before judging tonal balance.
A 1 dB loudness difference can affect EQ decisions, so match levels before switching between tracks. Then compare specific details, such as vocal edge, cymbal brightness, and overall top-end balance, rather than chasing identical sounds. If the reference seems smoother, identify which element creates that impression before changing your master bus. For a focused final balance, professional stereo mixing can help bring those individual choices together transparently.
Why does cutting harsh frequencies make my mix sound dull?
Human hearing is especially sensitive between 2 and 5 kHz; nasal vocals can build around 2-3 kHz, while 3-4 kHz can make vocals painful or cymbals metallic. Reduce the specific problem range, then judge the result in the full mix instead of cutting broadly.
-
Recognize Nasal and Brittle Sounds
Listen to the vocal and snare separately, then identify whether the tone sounds nasal, piercing, or brittle. A buildup around 2-3 kHz can make vocals nasal and snares honky; excess around 3-4 kHz can make vocals painful and cymbals metallic. Preserve useful attack by treating the sound causing the edge, not every bright track in the arrangement.
-
Identify Frequency Buildup
Compare the mix’s energy across 1-10 kHz, where disproportionate energy can contribute to harshness. The 4-5 kHz range can add vocal definition and drum attack, but too much may sound harsh; a tonal-balance line dipping 4 dB or more below zero in this range may signal an imbalance. Use that clue alongside listening, not as a reason for an automatic cut.
-
Check for Harmonic Buildup
Bypass saturation and other harmonic processing on the signal, then listen for changes in the upper mids. Added harmonics can make a previously smooth source sound brittle, especially when several processed tracks overlap. If saturation is part of the character, focus harmonic distortion where 3rd-order harmonics support the reduced frequency range. Avoid adding more processing before identifying which stage creates the edge.
-
Reduce Harsh Frequencies Without Dulling
Start with a targeted static EQ cut of 2-3 dB and a moderate Q around 1.5-2.5 when harshness stays consistent. For broad excess, try a gentle 1-2 dB shelf reduction starting around 3 kHz, then compare bypass at matched level. If a vocal loses shine, a modest 6-8 kHz boost above the harsh cut can restore presence. Keep the change only if the full mix retains clarity.

Using EQ sweeps to locate harsh frequencies
A temporary EQ boost can reveal an aggressive edge without committing to a tonal change. When fixing harsh high frequencies in a mix, use the sweep as a listening probe, then make a targeted adjustment to the source causing the problem.
- Insert a parametric EQ on the suspect track and set a narrow Q. Sweep through 2-5 kHz with a temporary 5-6 dB boost. Listen for the point where the sound becomes noticeably piercing, rather than choosing a frequency by appearance on a spectrum display.
- Move the boosted band slowly across the range and listen to the full phrase or musical passage. On a lead vocal, pay attention around 2.5-3.5 kHz. With acoustic guitars, check whether particular chords or strums create an aggressive edge that disappears on other notes.
- Separate sibilance from broader harshness by listening to vocal consonants in the 5-8 kHz range. If only “s” sounds jump out, use a de-esser or targeted dynamic control. A broad cut can remove articulation from the rest of the vocal.
- Once you’ve identified the troublesome spot, remove the temporary boost and make a small cut there. Toggle the EQ while the arrangement plays. Keep the adjustment only if it reduces the edge without weakening the source’s presence or character.
- Repeat the sweep on another track only if harshness remains. Overlapping instruments can create the same impression, so assess each change in context before processing the stereo bus. A disciplined sweep keeps fixing harsh high frequencies in a mix focused on the audible cause.
If several tracks need coordinated EQ decisions, professional stereo mixing can help bring their balance together.
Starsound Studios
If repeated EQ adjustments leave your mix sharp or dull, Starsound Studios can help control the harshness through stereo mixing. Each frequency decision is evaluated within the full arrangement to help preserve your performance’s character and clarity.
If your mix is already balanced but needs a final tonal review, mastering can refine its overall presentation. For projects intended for immersive playback, Dolby Atmos Mixing (9.1.4) offers a different format for shaping the listening experience.
Bring your creative direction and the specific moments that sound harsh into the conversation. Contact Starsound Studios to discuss your mix.
Shape a mix that still feels like yours
The final EQ move should support the performance’s emotion, not impose polish at the expense of its identity. As you make final decisions, ask whether the vocal still feels alive, the guitars retain their intended edge, and the arrangement still draws you in. Fixing harsh high frequencies in a mix is ultimately about letting those qualities come through clearly.
If the balance is still difficult to judge, a fresh engineering perspective can help you hear the project as a whole rather than as a series of isolated adjustments. Share what you want listeners to feel and which moments still sound uncomfortable. That gives the conversation a creative direction, not just a list of technical corrections.
Contact Starsound Studios for mixing help and take the next step toward a mix that feels clear, expressive, and true to your vision.
Frequently Asked Questions
What is a harsh mix?
A harsh mix sounds sharp or grating and can make listening tiring, even when no single instrument seems especially loud. The cause may be competing sounds crowding the upper mids, such as a bright vocal layered with distorted guitars and forceful cymbals. Listen for discomfort across the arrangement, not only for a piercing note or isolated consonant.
What is the best plugin for controlling harshness without making a mix dull?
There’s no single best plugin for every mix. Choose a processor that addresses the problem without changing unrelated sounds. A de-esser can target sharp vocal consonants, while a resonance suppressor can focus on tonal peaks that appear unevenly. If the brightness is consistent throughout a part, carefully adjusted EQ may be simpler. Compare bypassed and processed sound at matched levels.
Where should I put a de-harshing plugin: on the track, a bus or the master?
Start with the individual track when one source creates the edge, such as a vocal or cymbal recording. Use a bus only when several related tracks share the same harsh quality and respond well to common processing. Master-bus correction affects the whole arrangement, so reserve it for a mix-wide imbalance, not one troublesome instrument. Check every decision against the full mix.
How can I identify which instruments or frequency ranges cause harshness in a mix?
Mute and restore instruments one at a time while the full arrangement plays. If removing a bright guitar or vocal layer eases the discomfort, inspect that track before changing the master. A spectrum display can help locate concentrated energy, but use it as a visual clue, not a verdict. Confirm the cause by listening to the original and processed signal in context.
When should I use a dynamic EQ or de-esser to control harshness?
Use a de-esser when vocal sibilants create brief, sharp bursts but the rest of the performance sounds balanced. Choose dynamic EQ when a specific part becomes edgy on certain notes or phrases but sounds fine elsewhere. A sung vowel, for example, might grow aggressive while softer words remain smooth. Set the processing to respond only when the offending sound appears, then check the whole phrase.
How do saturation and distortion affect harsh high frequencies?
Saturation and distortion add harmonic content, enriching tone but potentially making upper frequencies feel denser or rougher. This can become more noticeable when several driven sources play together, such as distorted guitars beneath a saturated vocal. Bypass each processor in turn to find where the edge enters. If removing a stage restores balance, adjust it before applying corrective EQ.


