
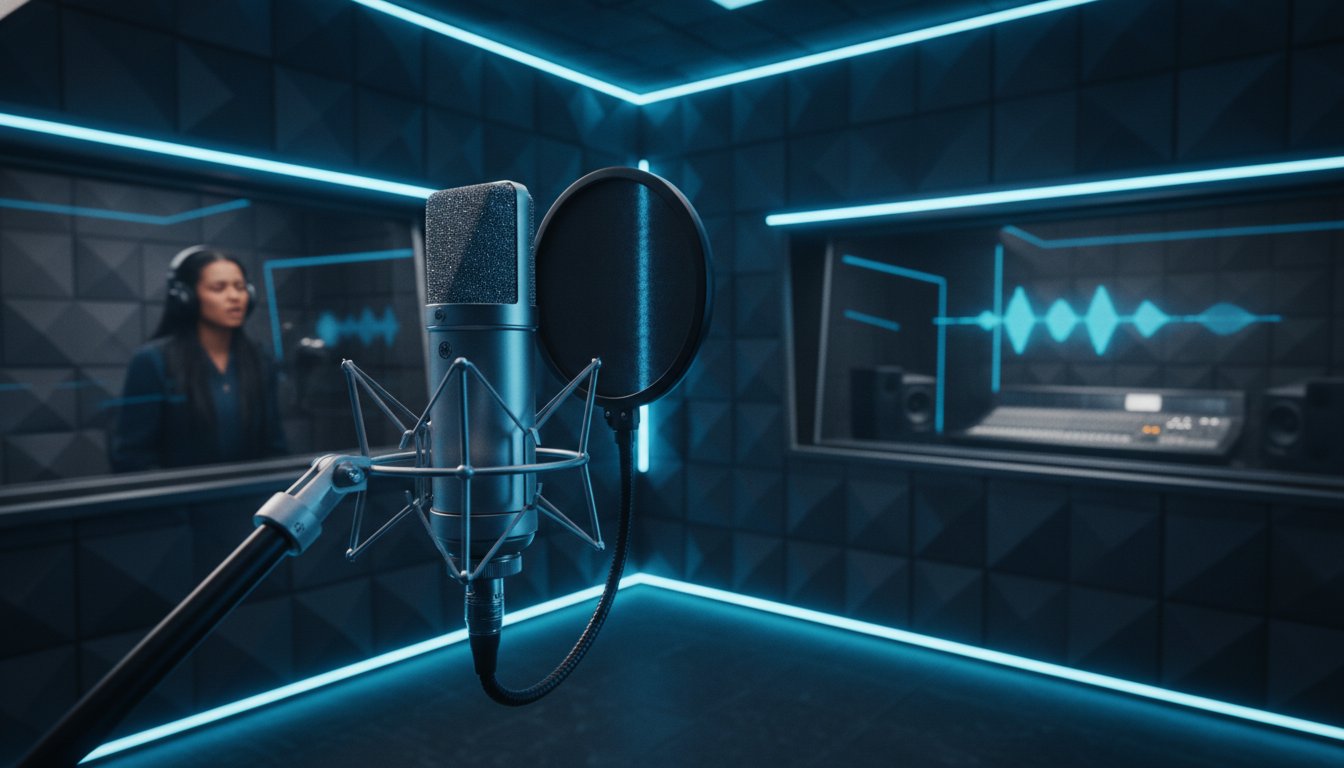
Your expensive microphone is only as good as the space it lives in. Many artists believe a high-end signal chain automatically guarantees a hit, but the truth is that pristine audio is built on control, not just gear. If you've ever struggled with boxy room reverb or harsh sibilance that cuts through a mix like a knife, you know the frustration of an amateur capture. Mastering how to get a clean vocal recording is the single most important step in your production journey. It's the difference between a track that feels like a demo and one that sounds like a global release.
We understand that your art deserves a technical foundation as passionate as your performance. In this definitive 2026 guide, you'll learn the professional techniques our engineers use to capture radio-ready vocals in any environment. We'll explore everything from setting up your Pro Tools 2026.4 session for maximum headroom to selecting the right interface for your specific vocal texture. By the end, you'll have the confidence to record tracks that require less fixing and more creative mixing, ensuring your unique identity remains the priority of every song.
Key Takeaways
- Transform your recording space from a source of unwanted reflections into a controlled sanctuary that preserves the raw integrity of your performance.
- Utilize strategic mic placement and the proximity effect to sculpt a rich, professional tone that sits perfectly in the mix without excessive processing.
- Master the art of gain staging and the -18dBFS rule to understand exactly how to get a clean vocal recording that translates across every streaming platform.
- Navigate the nuances of gear selection to choose microphones and preamps that bring out the natural sheen and power of your unique voice.
- Identify the pivotal moment to elevate your project by utilizing professional recording facilities and legendary signal chains for a world-class finish.
Mastering Your Environment: Why Your Room is Your First Microphone
The room isn't just a container for your performance. It's the first filter your voice passes through. Long before your signal reaches the preamp, it's already being shaped by the physics of your space. Understanding the history of sound recording reveals that capturing a world-class vocal has always been about managing the air around the artist. If your environment is working against you, even the most expensive gear can't save the track. You aren't just recording a voice; you're recording the room's reaction to that voice.
Reflections are the primary enemy of clarity. When sound waves bounce off hard surfaces and return to the microphone slightly out of phase, they create "mud." This phenomenon, known as comb filtering, effectively hollows out your frequency response. Many creators think a small, clothes-filled closet is the ultimate "dead" space. It's actually a trap. These tight environments often suffer from severe low-mid buildup that makes a vocal sound boxy and unnatural. Professional results require a balance between absorption and natural diffusion. Achieving this balance is the first step in learning how to get a clean vocal recording that sounds expensive and professional.
Controlling Early Reflections and Standing Waves
Forget the egg-carton myth. Thin foam and cardboard don't have the mass to stop low-frequency energy. Instead, use heavy moving blankets or specialized rockwool acoustic panels to soak up harsh reflections. Position your microphone so it doesn't face a flat, parallel wall. Aiming the singer toward a corner or an irregular surface helps break up standing waves. Don't forget the "Floor Reflection" trap. Hardwood and tile reflect high frequencies directly into the bottom of the mic. A thick rug under the singer's feet is a non-negotiable step for a focused, intimate sound.
Managing Background Noise and Signal-to-Noise Ratio
A pristine vocal requires a high signal-to-noise ratio. Start with a "Silence Audit." Identify the hidden culprits: humming AC units, whirring computer fans, or distant traffic. These sounds might seem quiet in the room, but they become deafening once you apply heavy compression during the mixing stage. Mastering how to get a clean vocal recording involves strategic mic placement. Use the "null point" of your microphone’s polar pattern. If you're using a cardioid mic, the back is the least sensitive area. Point the rear of the microphone toward your computer or door to naturally reject unwanted noise. Reflection filters can provide a secondary layer of protection, but they should never be your only solution. They work best when paired with a treated room, preventing stray reflections from entering the sides of the capsule.
Performance & Mic Technique: The Human Element of High-Fidelity
The gear is ready. The room is silent. Now, it's about the performance. While acoustic treatment sets the stage, your physical interaction with the microphone determines the final texture of the track. Mastering how to get a clean vocal recording requires more than just a great voice; it demands a technical understanding of how sound travels from your lips to the diaphragm. Even the most pristine signal chain can't fix a take ruined by poor positioning or uncontrolled plosives.
The proximity effect is your most powerful tool for shaping tone. As a singer moves closer to a directional microphone, the low-frequency response increases dramatically. This creates that intimate, radio-ready warmth favored in modern pop and soul. However, excessive closeness can lead to a muddy, indistinct mid-range. To maintain clarity, keep your pop filter at least three inches away from the capsule. This creates a physical barrier that stops plosive air blasts from "P" and "B" sounds before they can distort the diaphragm. If sibilance is an issue, try off-axis recording. By pointing the microphone toward the corner of the mouth rather than directly at the center, you allow harsh "S" and "T" sounds to pass by the capsule while still capturing the full body of the voice.
Mastering the Distance and Angle
Consistency is key for a mixable take. Use the "hang loose" hand gesture to set a reliable 6-8 inch gap between the singer and the pop filter. This ensures the volume and phase remain stable throughout the session. Angle the microphone roughly 15 degrees downward or to the side. This captures the resonance of the chest voice while avoiding the direct, nasal air that can sound thin. The sweet spot is the precise point where the microphone captures a balanced representation of the artist's fundamental frequencies and harmonic overtones without overemphasizing any specific band. If you want to master these physical nuances, our audio engineering classes provide the expert mentorship needed to perfect your technique.
The Psychology of the Take
A professional recording is as much about mindset as it is about mechanics. Proper hydration and vocal warmups are essential; they reduce the mouth clicks and glottal noises that plague amateur tracks. The vibe of the headphone mix also plays a critical role. If the singer can't hear themselves clearly with a touch of inspiring reverb, the performance will suffer. When you reach the editing stage, comp your takes based on articulation and breath control. Selecting segments where the diction is sharp and the energy is consistent is a vital part of how to get a clean vocal recording that stands up to modern production standards.
The Signal Chain: Gear Selection for Transparency and Depth
Your signal chain is the bridge between a raw performance and a professional production. While the environment and technique provide the foundation, the electronics you choose act as the lens through which your voice is captured. Selecting the right components is a delicate balance of transparency and character. To truly master how to get a clean vocal recording, you must understand how each link in this chain preserves the delicate nuances of your performance while rejecting unwanted electronic artifacts.
The choice often begins with the microphone. While many entry-level guides suggest that any condenser is better than a dynamic mic, the reality is more nuanced. A budget condenser often features a brittle, hyped high-end that creates harsh sibilance. In contrast, a world-class dynamic microphone like the Shure SM7B or Electro-Voice RE20 provides a smooth, mid-forward response that excels in less-than-perfect rooms. If you're working in a meticulously treated space, a large diaphragm condenser like the Neumann U 87 Ai offers the "air" and detail required for high-fidelity pop and soul. High-quality, shielded XLR cables are equally vital; they ensure that your pristine signal isn't compromised by electromagnetic interference or radio frequency noise before it even reaches your interface.
Condenser vs. Dynamic Microphones
Condensers are the standard for detail, requiring 48V phantom power to capture the fastest transients of a vocal. Dynamics are rugged workhorses, often preferred for aggressive styles or when you need to minimize the impact of a lively room. Choosing the right tool depends on your genre and the specific texture of the artist's voice.
| Feature | Large Diaphragm Condenser | High-End Dynamic |
|---|---|---|
| Sensitivity | High (Captures subtle nuances) | Low (Requires more gain) |
| Frequency Response | Wide and flat with top-end "sheen" | Tailored with a focus on the "body" |
| Ideal Genre | Pop, Jazz, Folk, Voiceover | Rock, Hip-Hop, Metal, Podcast |
Preamps and Converters
A preamp’s primary job is to provide clean gain. Budget interfaces often struggle with low-output microphones, introducing electronic hiss when pushed to the levels required for a quiet singer. Investing in a dedicated external preamp or a high-end interface like the Universal Audio Apollo Twin X ensures your signal has "weight" and "depth" without the noise floor. Digital-to-analog conversion is the final gatekeeper. Professional-grade clocking in studio-grade converters provides a level of clarity and stereo imaging that "prosumer" gear simply cannot match. When you're learning how to get a clean vocal recording, remember that the goal is to capture the most accurate digital representation of your analog spirit. Some engineers prefer a touch of hardware compression on the way in to tame peaks, but for most, staying digital allows for greater flexibility during the mixing stage.

The Technical Capture: Gain Staging and Digital Headroom
The technical capture is where your artistic vision meets mathematical precision. You've dialed in the room and perfected the performance. Now, you must protect that signal as it enters your DAW. Understanding how to get a clean vocal recording requires a disciplined approach to gain staging. In 2026, the industry standard remains 24-bit/48kHz for its perfect balance of dynamic range and storage efficiency. While modern systems offer incredible fidelity, your goal should always be a perfect capture from the start. You aren't just recording audio. You're preserving energy.
Yellow is the new red. Many amateur guides suggest aiming for -3dB, but this leaves your track with zero breathing room. When a mixing engineer adds a boost in the high frequencies or a punchy compressor, that track will immediately clip. By aiming for an average of -18dBFS, you provide the digital headroom necessary for professional processing. This ensures your vocal sits comfortably in the mix without the brittle distortion caused by inter-sample peaks. These hidden peaks can occur between the digital samples, creating a harshness that is felt more than heard. If you want to ensure your tracks are captured with this level of precision, our professional recording services provide the elite signal path your music deserves.
The 5-Step Gain Staging Process
Setting your levels is a deliberate act of balance. Don't rely solely on the green and red lights on your interface. They are often too broad to show subtle issues. Follow this professional workflow for every session:
- Check the high-resolution meters in your DAW, such as Pro Tools 2026.4, to see the exact decibel level.
- Adjust your preamp gain so the average peaks sit between -18dB and -12dB.
- Monitor for inter-sample peaks that can cause hidden distortion in your converters.
- Ask the artist to perform the loudest part of the song to ensure you don't clip during high-energy moments.
- Lock your gain settings once you find the sweet spot to maintain consistency across takes.
Avoiding Digital Artifacts
Digital distortion is permanent. Unlike the pleasing saturation of analog tape, digital clipping is a destructive process that cannot be undone. To maintain a pristine signal, you must also manage your system's performance. Latency is the silent vibe-killer. If the buffer size is too high, the singer will hear a delay in their headphones, leading to a disconnected performance. Conversely, a buffer that is too low can cause CPU pops and clicks. Mastering how to get a clean vocal recording means finding the lowest stable buffer size for your hardware. This allows the artist to stay perfectly in time without the phasing issues that occur when a monitor mix is out of sync with the performance.
Beyond the DIY: Elevating Your Vocals with Starsound Studios
There is a specific threshold where home studio physics and consumer gear reach their natural limit. You've mastered the fundamentals of how to get a clean vocal recording, but the leap from a great demo to a world-class production often requires a dedicated creative sanctuary. A professional facility isn't just a room full of gear. It's a high-end technical environment where every reflection is calculated and every component in the signal chain is chosen for its absolute transparency. When the technical details are handled with such precision, you're finally free to focus entirely on the emotional energy of your performance.
Our vocal chain is built on legendary foundations. We pair iconic microphones like the Neumann U 87 Ai with elite preamps to provide the weight, depth, and sheen that "prosumer" interfaces simply cannot replicate. This level of signal integrity is more than a luxury; it's a requirement for modern distribution. As we move further into 2026, immersive audio formats like Dolby Atmos 9.1.4 are becoming the standard for major streaming platforms. A pristine, dry vocal capture is the essential building block for these three-dimensional mixes. Without the interference of room mud or electronic hiss, your voice can be positioned with surgical accuracy in a 360-degree soundstage.
Professional Recording in Cleveland and North Royalton
Local artists in Cleveland and North Royalton choose Starsound Studios because we function as collaborative mentors, not just service providers. We understand that the best vocal takes happen when the artist feels inspired and supported. Our facility combines acoustic perfection with a high-energy atmosphere that encourages you to reach your highest potential. We handle the gain staging and the technical capture so you can stay in the creative flow. Experience the difference of a professional recording environment.
Remote Mixing and Mastering Services
If you've already applied our guide to how to get a clean vocal recording at home, our remote mixing and mastering services can provide the final polish. Send us your raw stems from anywhere in the world. We'll utilize our professional environment to turn those home recordings into radio-ready hits that meet the strict loudness standards of 2026. Whether it's achieving the -14 LUFS target for Spotify or crafting a dynamic master for Apple Music, we ensure your unique identity is the priority. Elevate your sound with our expert mixing and mastering services.
Transforming Your Vision into a Sonic Masterpiece
Your voice is the heart of your production. While mastering how to get a clean vocal recording starts with controlling your environment and perfecting your gain staging, the final step is choosing a space that matches your ambition. You now possess the technical foundations to capture pristine audio, from managing early reflections to maintaining digital headroom for a professional mix. These skills ensure your tracks are ready for the high standards of 2026 streaming platforms. Every great recording is a balance of science and spirit; you're now equipped to handle both.
At Starsound Studios, we provide the ultimate creative sanctuary for artists ready to transcend the DIY limit. Owned by lead engineer Steve 'The Mix', our facility features Ohio's only Dolby-certified Atmos mixing studio and a state-of-the-art 9.1.4 immersive audio suite. We bridge the gap between technical precision and artistic enthusiasm, ensuring your unique identity is captured with absolute clarity. Ready to capture your best sound? Book a professional recording session at Starsound Studios today. Your music deserves a world-class foundation. Let's bring your creative vision to life with the precision it demands.
Frequently Asked Questions
Is it possible to get a clean vocal recording in an untreated room?
You can achieve a usable result in an untreated room by using a dynamic microphone with high off-axis rejection. Heavy moving blankets draped over a stand behind the singer can absorb high-frequency reflections. However, these DIY fixes won't replace the surgical precision of a professionally tuned recording environment. The lack of acoustic treatment often leads to low-end buildup that no amount of software can fully remove.
What is the best affordable microphone for clean vocals in 2026?
In 2026, the Shure SM7B remains a top choice for its ability to deliver radio-ready results in imperfect spaces. For those seeking more detail, the Telefunken M80 offers a condenser-like sheen in a rugged dynamic format. Pair these with a modern interface like the Focusrite Scarlett 2i2 (4th Gen) for a transparent signal path. This combination provides a professional foundation without the high cost of vintage tubes.
How do I stop my vocals from sounding 'boxy' or 'muddy'?
Boxy or muddy vocals usually stem from recording in small, untreated spaces or standing too close to the microphone. The proximity effect naturally boosts low frequencies as you move closer to the capsule. To fix this, move 6-8 inches back and ensure you aren't standing in the center of a square room where standing waves accumulate. Proper placement is the first step toward a mix-ready sound.
Should I record my vocals with reverb or effects turned on?
You should always record your raw signal "dry" to your DAW while monitoring with "wet" effects in your headphones. Adding reverb or delay to your headphone mix helps you perform with more confidence and better pitch. However, printing those effects permanently limits your options during the mixing and mastering stages. Keep your recording signal pure to allow for total creative control later in the process.
What is gain staging and why does it matter for vocal recording?
Gain staging is the process of setting levels at each stage of your signal chain to ensure a healthy signal-to-noise ratio. This is a critical step in how to get a clean vocal recording because it prevents digital clipping and electronic hiss. Aim for average peaks around -18dBFS. This provides enough digital headroom for your mixing engineer to apply compression and EQ without introducing distortion.
How far should I stand from the microphone when recording?
The industry standard is to stand roughly 6-8 inches away from the microphone. This distance balances the natural warmth of the proximity effect with the clarity of the mid-range. Use the "hang loose" hand gesture to maintain a consistent gap throughout your takes. Consistency prevents volume fluctuations and phase issues, making the editing and comping process much smoother for you or your engineer.
Can AI tools like RX really fix a bad vocal recording?
AI tools can effectively remove background hum or mouth clicks, but they cannot fix a fundamentally poor recording. Over-processing with AI often introduces digital artifacts that make a voice sound robotic and thin. The best approach is to capture a pristine signal at the source rather than relying on software to repair a damaged take. Technology should enhance a great performance, not attempt to rescue one.
Why do my vocals sound professional in the studio but amateur at home?
Professional studios offer acoustic perfection and legendary signal chains that home setups rarely match. An engineer like Steve 'The Mix' understands the nuances of how to get a clean vocal recording that translates across every streaming platform. The combination of high-end converters, tuned rooms, and expert mentorship creates a depth that DIY environments struggle to replicate. A studio provides the sanctuary needed for absolute precision.


