
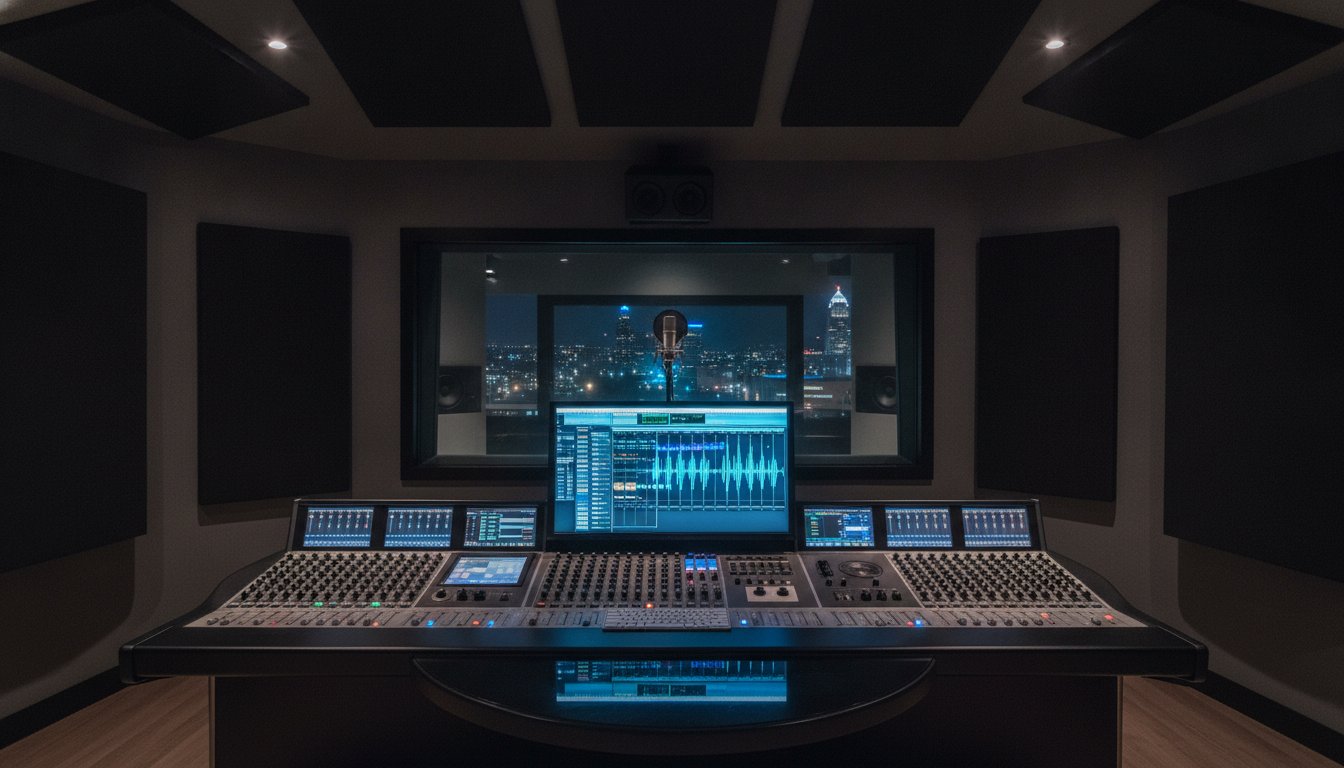
Why does a vocal recorded on a five-figure microphone sometimes sound amateur, while a bedroom demo can end up dominating the global charts? It is rarely about the price of the preamp. It is about the intentionality of the signal chain and understanding how to make vocals sound professional through precise, high-fidelity engineering. You have likely felt the frustration of a vocal that sits awkwardly on top of the mix, fighting the instruments and sounding thin or harsh despite your best efforts. It is the primary barrier between a creative spark and a world-class release.
In this guide, we reveal the exact engineering secrets and signal chains used by elite studios to transform your audio. You will discover how to eliminate muddy low-end and harsh sibilance while creating a consistent, commanding presence that holds its own in a 9.1.4 immersive environment. We will walk through the essential processing steps, from surgical pitch correction with tools like Melodyne 5 to advanced saturation techniques. This is your roadmap to producing polished, radio-ready vocal tracks that resonate with professional energy and absolute clarity.
Key Takeaways
- Learn why your acoustic environment and room treatment are more critical to a polished sound than the price tag on your microphone.
- Master a repeatable signal flow and learn how to make vocals sound professional using precise gain staging and industry-standard processing sequences.
- Discover how to transition from a thin, dry recording to a lush, expensive soundscape using advanced time-based effects and spatial placement.
- Understand the "10% difference" that separates home demos from radio-ready masters, focusing on the subtle technical nuances handled by expert engineering.
- Explore the future of vocal production through Dolby Atmos and 9.1.4 immersive audio, the new gold standard for high-fidelity streaming releases.
The Foundation: Why Your Vocals Sound Amateur (and How to Fix It)
Professional vocals aren't defined by the price tag of the microphone. They are a specific balance of three pillars: crystalline clarity, absolute dynamic consistency, and an undeniable emotional character. Many producers make the mistake of thinking a expensive preamp will solve their problems. In reality, the first hurdle in learning how to make vocals sound professional is mastering the environment. If your recording room sounds like a hollow plastic bin, your vocal will too. No amount of digital processing can fully hide the sound of a bad room.
The "Garbage In, Garbage Out" rule is the law of the studio. You can't polish a performance that lacks energy, and you certainly can't "un-record" the sound of a bedroom's standing waves. Understanding the fundamental principles of sound recording reminds us that the microphone is a high-sensitivity instrument. It captures everything, including the hum of your laptop and the bounce of the drywall. Your goal is a dry, intimate signal. You want the singer to sound like they are standing in the listener's ear, not ten feet away in a tiled bathroom.
Acoustic Treatment vs. Room Correction
Don't confuse soundproofing with acoustic treatment. Soundproofing keeps your neighbors from complaining; treatment makes your recording usable. Amateur tracks often suffer from "boxiness," a build-up of frequencies between 300Hz and 500Hz. This happens when sound waves bounce off parallel walls and back into the mic. To fix this at the source, use heavy acoustic blankets or thick rockwool panels. Avoid thin egg-carton foam. It only absorbs high frequencies, leaving the muddy low-end to ruin your track. A "dead" space is the fundamental secret of how to make vocals sound professional because it gives you a clean slate for mixing.
Microphone Technique and Proximity Effect
The distance between the singer and the capsule dictates the entire frequency response of the track. This is known as the Proximity Effect. As a singer moves closer to a directional microphone, the low-end frequencies increase dramatically. It's a tool for intimacy, but it can quickly turn into mud if you aren't careful. Use the "6-inch rule" as your starting point. It provides a natural balance of chest tone and air. Always use a pop filter to stop plosives from clipping your converter. If a singer is particularly sibilant, try off-axis recording. Point the mic slightly toward the throat instead of the mouth. It's a pro move that tames harsh "S" sounds before they ever hit your DAW.
The Pro Vocal Processing Chain: A Step-by-Step Workflow
A vocal chain is a series of serial and parallel processors designed to enhance a performance. Understanding this sequence is the secret to how to make vocals sound professional. It isn't a random collection of plugins thrown at a track in the hopes of a miracle. It's a logical, intentional progression where every decision builds upon the last to create a world-class result. Before you even touch a knob, you must master gain staging. This is the practice of managing levels between processors to ensure you aren't hitting your digital converters or plugins too hard. Aim for an average of -18 dBFS. This preserves the headroom necessary for your processors to breathe and react musically rather than distorting the signal.
In the professional world, we draw a hard line between corrective and creative processing. You must clean the slate before you decorate it. Mastering the art of vocal production requires identifying technical flaws early. If you try to add shimmering high-end to a vocal that still has harsh resonances, you only amplify the problem. Corrective processing is surgical; it fixes what is broken. Creative processing is aesthetic; it adds the "expensive" character we all crave. Never skip the surgery to get to the paint job.
Corrective EQ and De-Essing
Start your chain with a High-Pass Filter (HPF). Generally, anything below 80Hz to 100Hz is just rumble, air conditioner hum, or stage noise that eats up your headroom. Remove it. Next, use subtractive EQ to hunt for resonant, "nasal," or "honky" frequencies. These usually live between 400Hz and 800Hz. Use a narrow Q to dip these out by 2-3 dB. Finally, apply a de-esser to tame the 5kHz to 8kHz range. You want to catch those piercing "S" and "T" sounds before your compressors bring them to the front of the mix. If you're struggling with these technical hurdles, our audio engineering classes provide hands-on experience in mastering these essential signal flows.
Dynamic Control: The Two-Stage Compression Secret
Professional mixers rarely rely on a single compressor to do all the heavy lifting. Instead, use a two-stage approach. This is a fundamental technique in how to make vocals sound professional. Stage one uses a fast compressor, like an 1176 FET style, to catch aggressive peaks. Set a fast attack and release to shave off the top 2-3 dB of the loudest transients. Stage two employs a slow, musical compressor, like an LA-2A Opto style. This smooths out the overall performance and adds a "locked-in" feeling. By splitting the work, the vocal sounds natural and consistent without the audible "pumping" artifacts that occur when a single plugin is over-worked.
Creating Depth: Advanced Effects and Spatial Processing
Once you've achieved a clean, consistent signal through corrective EQ and two-stage compression, it's time to move from "dry" to "expensive." This phase is where you define the vocal space. Professional vocals don't just sit on top of a track. They exist within a three-dimensional environment that feels intentional and lush. This is a critical step in how to make vocals sound professional; you are no longer just fixing audio, you are crafting an atmosphere. The secret lies in using saturation and time-based effects as parallel layers rather than direct inserts.
Digital recordings can often feel sterile or "too perfect." To combat this, use saturation to introduce harmonic excitement and analog warmth. Plugins like Soundtoys Decapitator ($199) or iZotope Nectar 4 provide the grit and character that make a vocal feel alive. Saturation adds subtle overtones that help the vocal cut through a dense mix without increasing the actual volume. It creates a sense of "energy" that feels like it was recorded through a vintage console, bridging the gap between a home demo and a high-end studio release. It's the difference between a flat recording and a performance that has "soul."
Reverb and Delay Architectures
Never place a reverb plugin directly on your vocal track. This is the fastest way to wash out your performance and lose clarity. Instead, use an auxiliary send. This allows you to process the reverb independently. A staple technique is the "Abbey Road Reverb Trick." Place an EQ before your reverb and apply a high-pass filter at 600Hz and a low-pass filter at 10kHz. This prevents the low-end from becoming muddy and the high-end from sounding "metallic." To keep the singer "up front," adjust your pre-delay settings. A pre-delay of 20ms to 40ms creates a tiny gap between the dry vocal and the reverb tail, ensuring the lyrics remain crystal clear while sounding massive.
Parallel Processing and Vocal Doubles
Parallel processing is the key to aggressive energy. Use "New York Compression" by sending your vocal to a separate bus with extreme compression settings. Blend this crushed signal back in with the original to add weight and "thickness" without losing the natural dynamics. For modern pop and hip-hop, width is essential. Utilize micro-pitch shifting or the free iZotope Vocal Doubler to create a "larger than life" stereo image. Combining these with "whisper tracks" (breathy, low-volume doubles) adds a tactile, intimate texture. Mastering these spatial secrets is how to make vocals sound professional in a competitive market where listeners expect an immersive, high-fidelity experience.

Home Studio vs. Pro Studio: The 10% That Makes the 100%
Can you capture a world-class vocal in a spare bedroom? The short answer is yes, but with significant caveats. While modern plugins have closed the gap, the difference between a "good" home recording and a "radio-ready" master often comes down to the gear you cannot hear. It is the final 10% of the process that provides 100% of the professional polish. Learning how to make vocals sound professional at home is a noble pursuit, but it often hits a ceiling when the listening environment is compromised. If your room isn't acoustically accurate, you simply cannot mix what you cannot hear. You might be boosting frequencies to compensate for room nulls, inadvertently ruining the balance of your track.
Capturing a dry signal is only the first step in how to make vocals sound professional; the real magic happens in the translation to a professional monitoring environment. Professional studios spend thousands on acoustic design to ensure that every decision is based on truth, not a room reflection. This clarity allows for surgical precision during the mixing stage that is nearly impossible to achieve in a standard residential space. It's about confidence in your monitoring.
The Signal Chain: Preamps and Converters
High-end A/D converters are the unsung heroes of the studio. They preserve the tiny transient details and micro-dynamics that budget interfaces often smear. When you pair these with "Analog Mojo" from outboard hardware like Neve or API preamps, you get a specific harmonic weight. This isn't just about volume; it's about the depth and authority of the signal. Starsound Studios bridges this gap by combining the best of this legacy hardware with modern digital precision. We provide the high-fidelity foundation your art deserves, ensuring your tracks have the "expensive" sound that listeners expect from a major release.
The Value of a Professional Mix Engineer
A professional mix engineer brings the most valuable tool of all: objectivity. After hours of recording your own voice, you lose the ability to hear the track for what it truly is. A second set of ears, especially those belonging to a seasoned expert like Steve "The Mix," can identify the subtle harshness or dynamic inconsistencies that you've become deaf to. This allows the artist to step away from the technical minutiae and focus entirely on the creative vision. If you're ready to take your project to the next level, our remote mixing services offer a seamless way to get world-class results from your home recordings.
The Future of Vocals: Immersive Audio and Dolby Atmos
Stereo mixing is no longer the final destination for a world-class release. The industry has shifted toward immersive audio as the definitive gold standard for vocal production. Dolby Atmos is the future. At Starsound Studios, we lead this charge as Ohio’s only Dolby-certified Atmos mixing facility. This technology allows a singer to occupy a 360-degree space, surrounding the listener with an intimacy that stereo simply cannot replicate. It creates an environment where the music isn't just heard; it's felt.
Major labels now mandate Atmos mixes for new releases, driven by a 340% increase in spatial audio consumption since 2023. Beyond the creative potential, there is a significant financial incentive for independent creators. Apple Music provides a 10% royalty bonus for tracks available in Spatial Audio, and these tracks can earn up to 2.2 times more than a typical stream on other platforms. Mastering how to make vocals sound professional in 2026 means ensuring they are ready for this immersive landscape. It's about future-proofing your art for a global audience that expects a premium listening experience.
Mixing Vocals in a 9.1.4 Environment
Our 9.1.4 immersive audio suite provides a canvas unlike any other. In a traditional mix, vocals often fight for space with guitars and synths. In an Atmos environment, we place lead vocals with surgical precision in the center channel while harmonies and ad-libs soar through the height channels. This creates a massive soundstage where the vocal feels live and visceral. It isn't just a recording; it's a performance happening all around you. This separation preserves the clarity of the lead while allowing the backing tracks to wrap around the listener in a lush, expensive-sounding embrace.
Remote Mixing: Bringing Cleveland Expertise to Your Studio
You don't have to be in North Royalton to access this level of engineering expertise. We handle remote post-production for artists worldwide, bridging the gap between a home demo and a polished release. The process is streamlined and collaborative. You send your stems, and Steve "The Mix" applies the same precision and high-end signal chains used in our physical facility. We return a professional master that translates perfectly across all platforms, from high-end home theaters to standard earbuds. It's the ultimate path to achieving a world-class result without the overhead of a traditional studio stay. Elevate your vocals with Starsound’s Professional Mixing Services.
Your Roadmap to a World-Class Vocal Sound
The technical bridge between a raw demo and a world-class release is built on intentionality. You've discovered the secrets of acoustic treatment, the logic of a two-stage compression chain, and the vast potential of immersive audio. Understanding how to make vocals sound professional is no longer a mystery reserved for major labels. It's a repeatable process of precision and passion. Your voice is the most intimate part of your music. It deserves to be heard with absolute clarity and expensive depth.
Starsound Studios is here to provide that high-fidelity foundation. As Ohio’s only Dolby-certified Atmos mixing studio, we offer the technical authority required for modern streaming standards. Led by Steve "The Mix," our facility combines elite analog gear with contemporary digital innovation. Whether you're recording locally in North Royalton or utilizing our remote production services from across the globe, we act as your collaborative mentor. We handle the engineering so you can focus on the art. We are just as invested in your final product as you are.
Book Your Professional Vocal Session at Starsound Studios and let's capture your highest potential together.
Frequently Asked Questions
Do I need an expensive microphone to sound professional?
You don't need a five-figure microphone to achieve elite results. While high-end capsules offer incredible detail, a well-treated room and proper mic technique are far more influential to the final product. A professional vocal sound is built on a clean, reflection-free recording environment rather than the price tag of your gear. Focus on your acoustic space first to ensure you aren't capturing unwanted room reflections.
Should I record my vocals with effects like reverb and EQ turned on?
It's best to record your vocals dry while monitoring with effects to inspire the singer's performance. Recording with permanent EQ or reverb, often called "printing" to the track, can limit your options during the mixing stage. Monitoring through a latency-free vocal chain helps the artist hear the final vision without committing to processing that might be difficult to undo later if the mix direction changes.
What is the best software (DAW) for recording professional vocals?
Pro Tools remains the industry standard for professional recording and mixing due to its precision editing and advanced signal routing. However, modern DAWs like Ableton Live 12, Logic Pro, and Studio One Pro 7 are all capable of delivering world-class results. The best software is the one that allows you to work efficiently without technical distractions so you can stay focused on the creative energy of the session.
How do I stop my vocals from sounding boxy or nasal?
Boxiness usually occurs in the 300Hz to 500Hz range due to standing waves in a small, untreated room. Nasal qualities often live between 800Hz and 1.5kHz. You can fix these issues by using subtractive EQ to dip the offending frequencies or by improving your acoustic treatment with thicker absorption panels. Mastering how to make vocals sound professional requires identifying these resonances early to ensure a clear, open sound that sits perfectly in the mix.
Is pitch correction (Auto-Tune) considered unprofessional in the industry?
Pitch correction is a standard tool in modern production and is not considered unprofessional. Whether it is surgical correction with Melodyne 5 or the creative effect of Auto-Tune Pro 11, these tools are essential for achieving the polished consistency listeners expect. The goal is to enhance the performance while maintaining the emotional character of the singer. Even the most talented vocalists use subtle correction to ensure a radio-ready finish.
How much does it cost to have a vocal professionally mixed and mastered?
The cost of professional mixing and mastering varies based on the engineer's expertise and the complexity of the project. High-end facilities with specialized equipment and certified immersive rooms typically reflect that level of technical precision in their service tiers. You should check with your chosen studio to see which post-production options, such as stereo or Dolby Atmos mixing, best align with your release goals.
What is the difference between mixing and mastering for vocals?
Mixing is the process of balancing individual tracks, such as lead vocals, doubles, and harmonies, to create a cohesive song. This is where you apply the corrective and creative vocal chains discussed in this guide. Mastering is the final polish applied to the stereo or Atmos file. It ensures how to make vocals sound professional across all playback systems, from high-end theaters to standard smartphone speakers, while meeting commercial loudness standards.
Can Starsound Studios mix my vocals if I live outside of Cleveland?
Yes, Starsound Studios provides remote mixing and remote mastering services for artists worldwide. You don't need to be locally present in North Royalton to benefit from our 9.1.4 immersive audio suite or the expertise of Steve "The Mix." We offer a streamlined digital workflow where you can send your stems and receive a professional, radio-ready master that is ready for global distribution on all major streaming platforms.


